✅ Now Live: Advanced Order Store for All Business Types – Rentals, Services, Subscriptions & More!✅ Now Live: Advanced Order Store for All Business Types – Rentals, Services, Subscriptions & More!✅ Now Live: Advanced Order Store for All Business Types – Rentals, Services, Subscriptions & More!✅ Now Live: Advanced Order Store for All Business Types – Rentals, Services, Subscriptions & More!✅ Now Live: Advanced Order Store for All Business Types – Rentals, Services, Subscriptions & More!✅ Now Live: Advanced Order Store for All Business Types – Rentals, Services, Subscriptions & More!✅ Now Live: Advanced Order Store for All Business Types – Rentals, Services, Subscriptions & More!✅ Now Live: Advanced Order Store for All Business Types – Rentals, Services, Subscriptions & More!✅ Now Live: Advanced Order Store for All Business Types – Rentals, Services, Subscriptions & More!✅ Now Live: Advanced Order Store for All Business Types – Rentals, Services, Subscriptions & More!
Install Tailwind with Next.js
In this lesson, we will explore the integration of Tailwind CSS with Next.js, a popular React framework. As we progress through the course, we'll be using Next.js and Tailwind CSS in tandem, providing you with the opportunity to become familiar with both React and Next.js. You'll learn how to build reusable components, leveraging the strengths of these powerful tools to create efficient, modern web applications.
Pre-requisites
To effectively install and work with Tailwind CSS alongside Next.js, it's crucial to have the latest version of Node.js installed. Always ensure you have the most recent version by checking the Node.js website.
Step 1: Install Tailwind CSS with Next.js
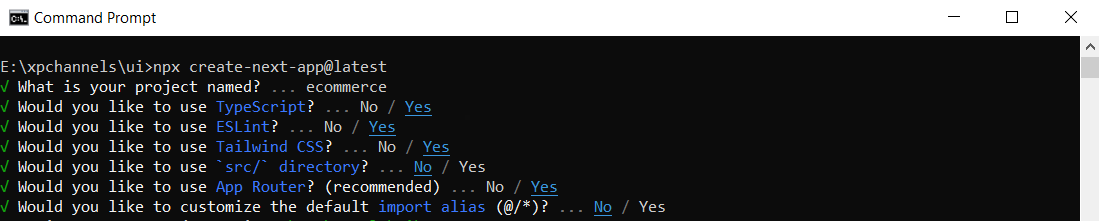
1. To create a Next.js project, type the following command in your terminal window:
Code Snippet
npx create-next-app@latest2. Upon installation, you will encounter the following prompts. Please provide the values as indicated below."
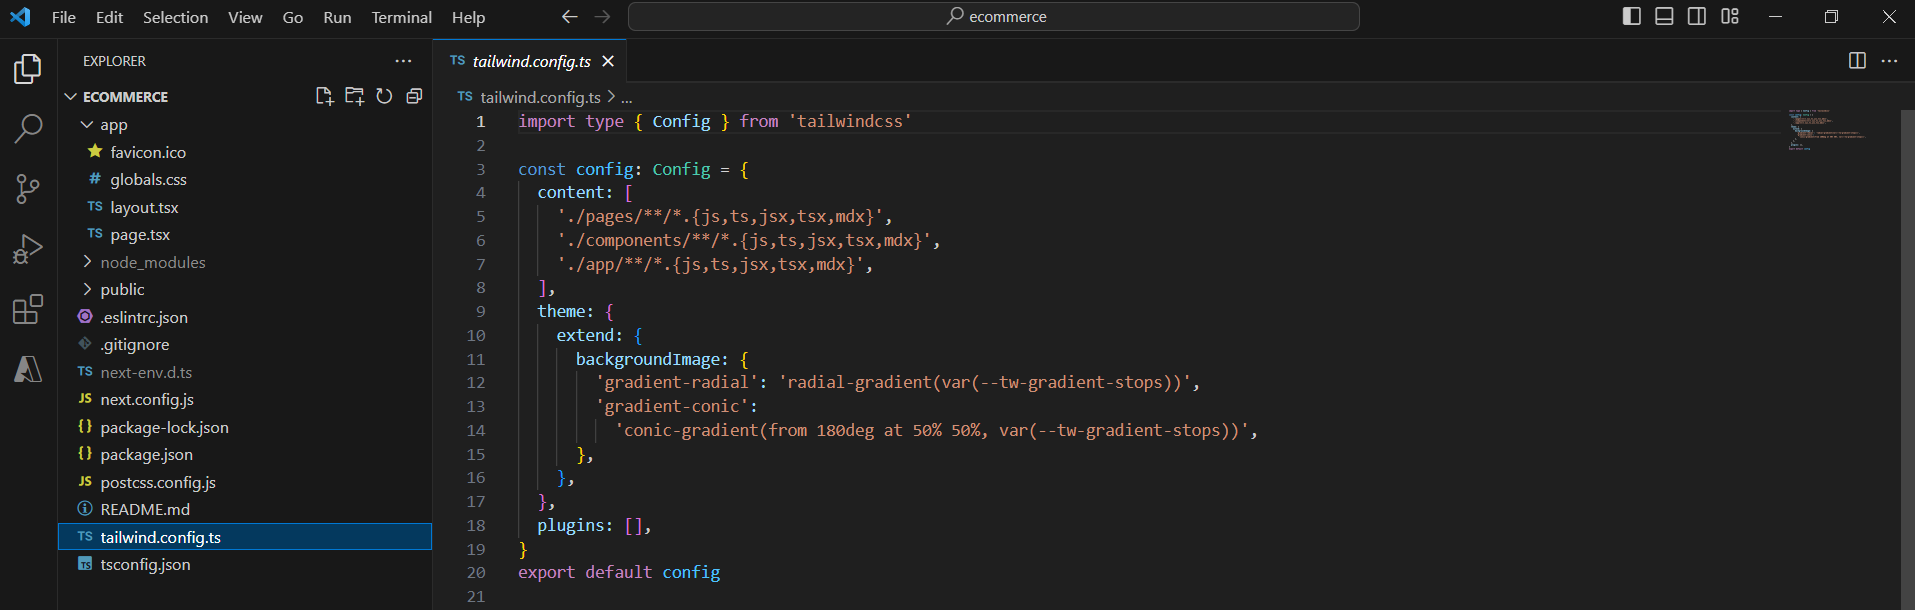
3. As the packages install, the Next.js CLI automatically configures the necessary settings for Tailwind CSS. Check the newly created files in your project folder by opening it in VSCode. The 'content' section lists the paths of TypeScript files that Tailwind will scan for utility classes to generate the output CSS file.
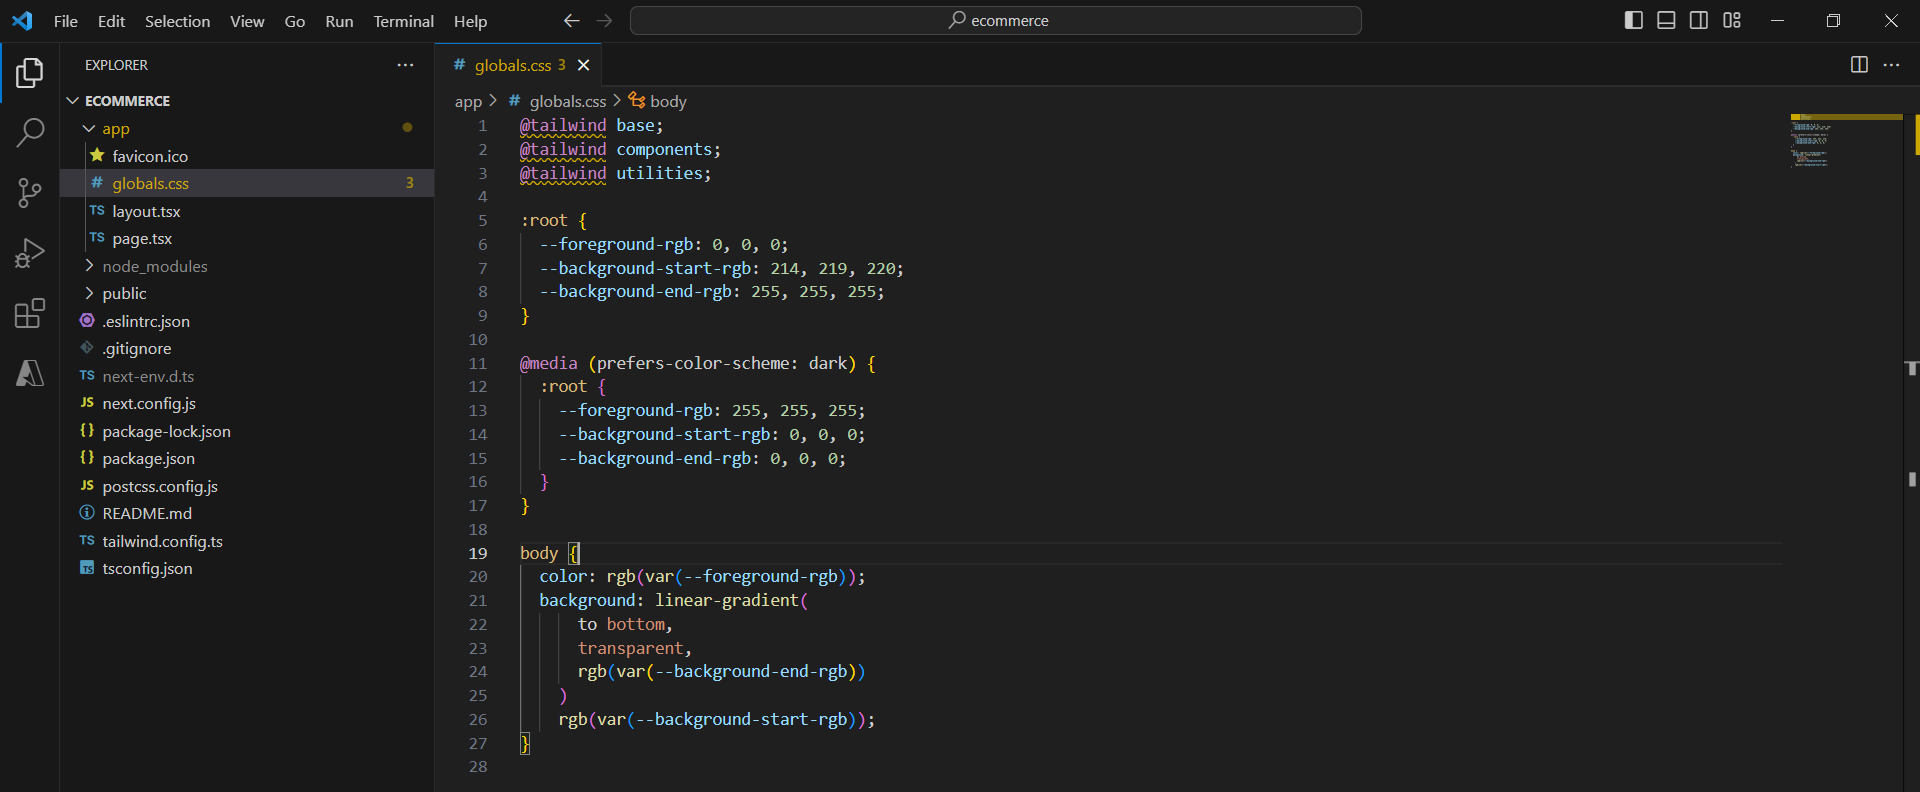
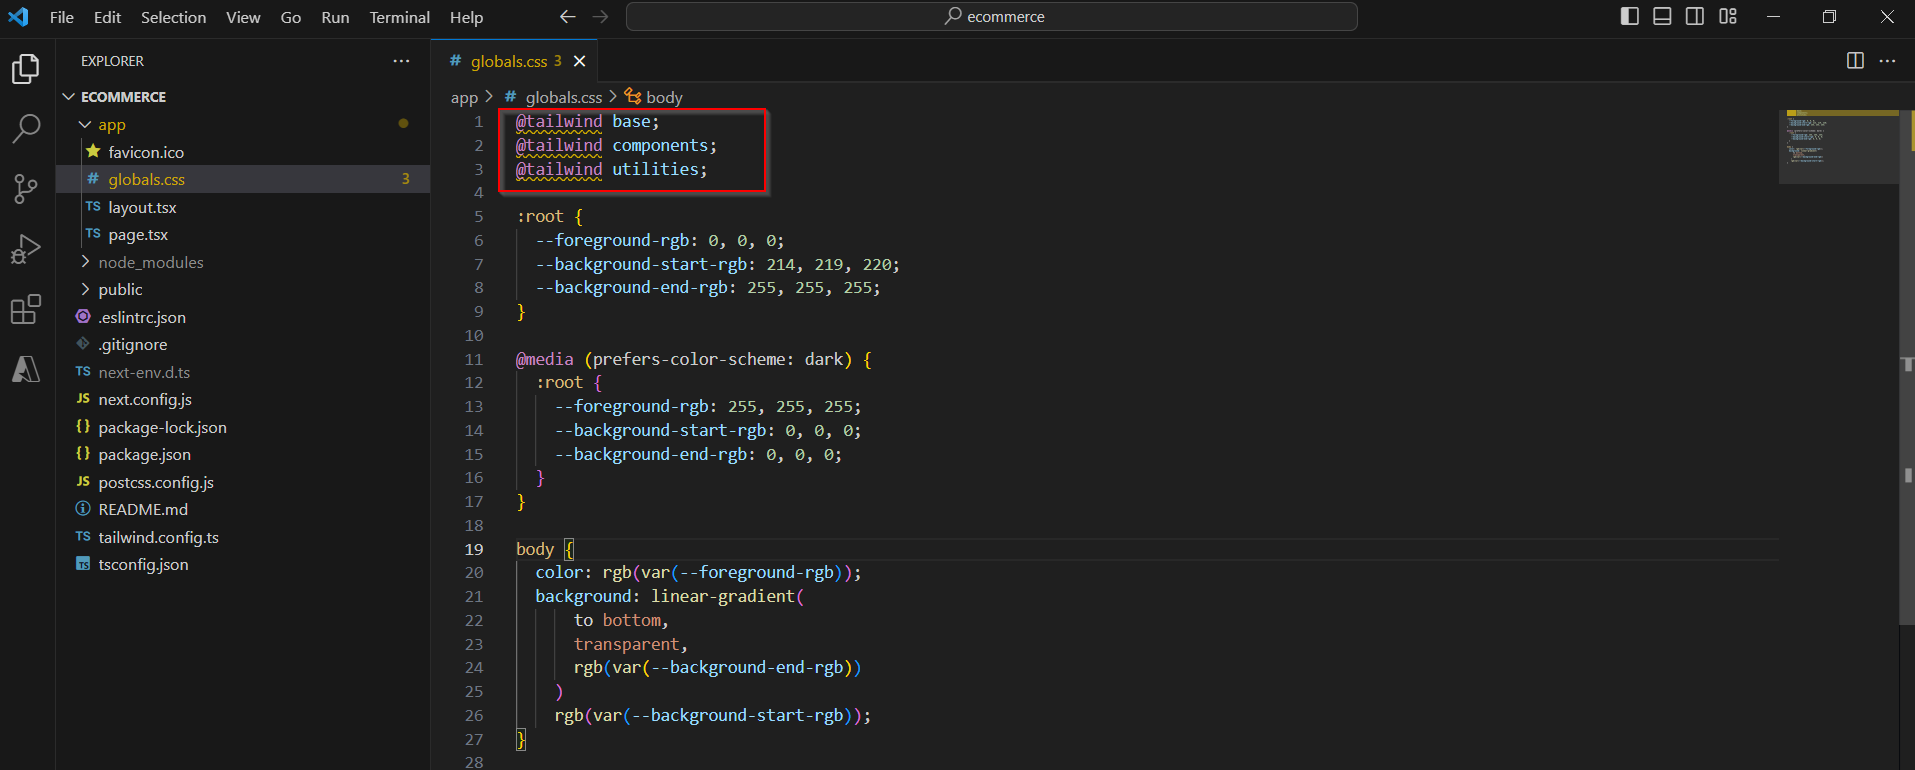
4. Also, review the 'global.css' file, which includes the Tailwind directives.
Step 2: Installing Tailwind CSS IntelliSense
Tailwind CSS IntelliSense enhances development in Visual Studio Code with features like autocomplete, syntax highlighting, and linting.
- Install the plugin by visiting Tailwind CSS IntelliSense on the VSCode Marketplace. https://marketplace.visualstudio.com/items?itemName=bradlc.vscode-tailwindcss
- After installation, you may need to reload VSCode.
- To avoid warnings as show below, change the language mode of CSS files to 'tailwindcss' following these steps:
- Open the 'global.css' file.
- Press Ctrl+Shift+P and search for 'Change Language Mode'.
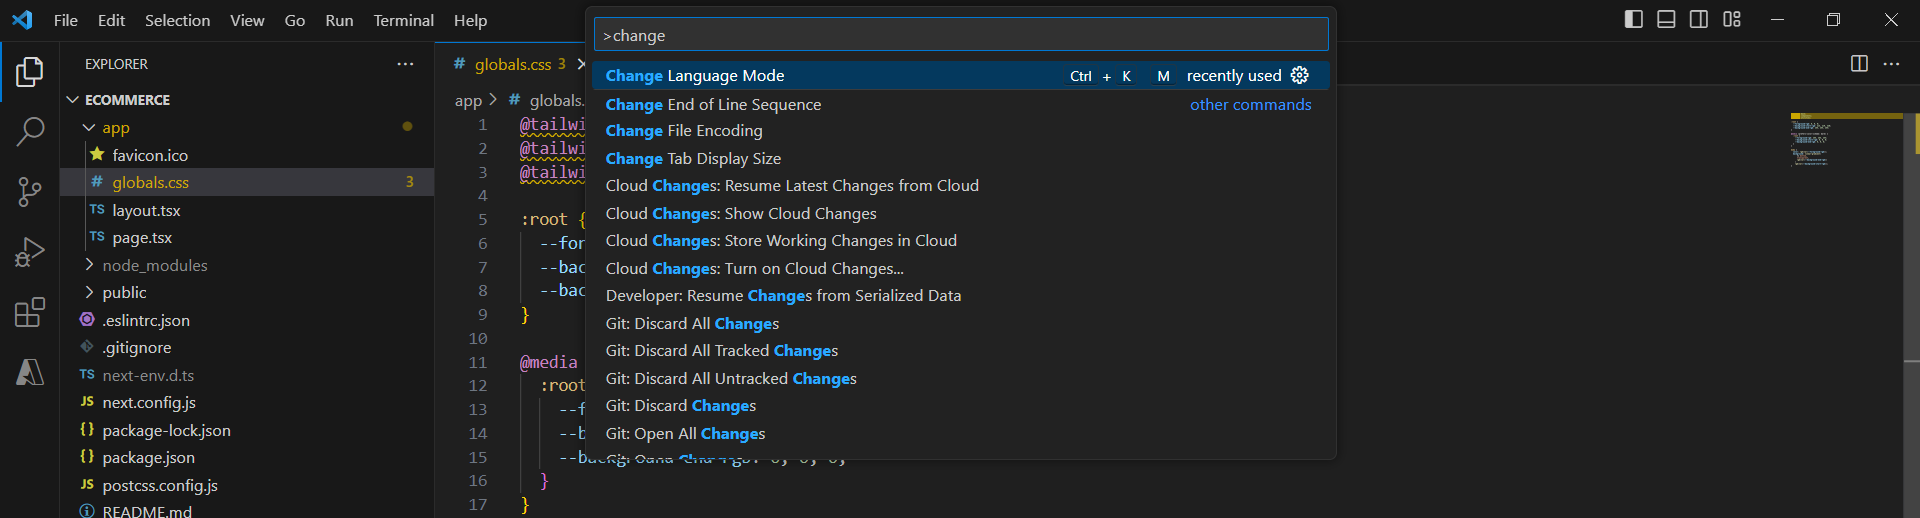
- Type 'tailwindcss' in the search bar and select it.
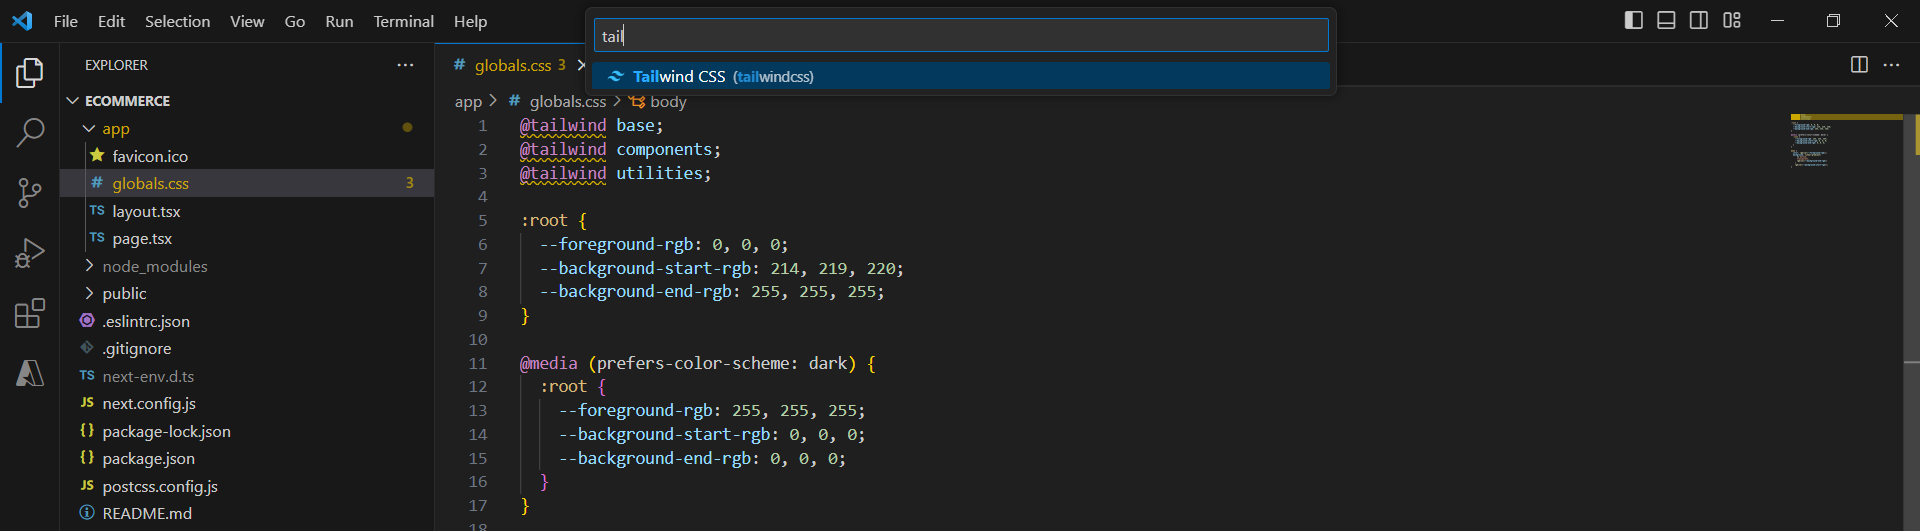
Now, your CSS file is associated with Tailwind CSS, and previous warnings should be resolved.
Step 3: Running the Project
After successfully installing Next.js and Tailwind CSS, it's time to run the project. Follow these steps:
1. In the terminal window, navigate to your project folder.
2. Type the following npm command to start the server:
Code Snippet
npm run dev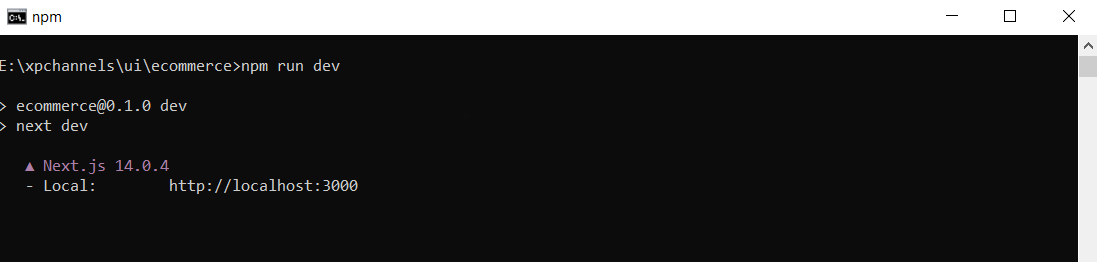
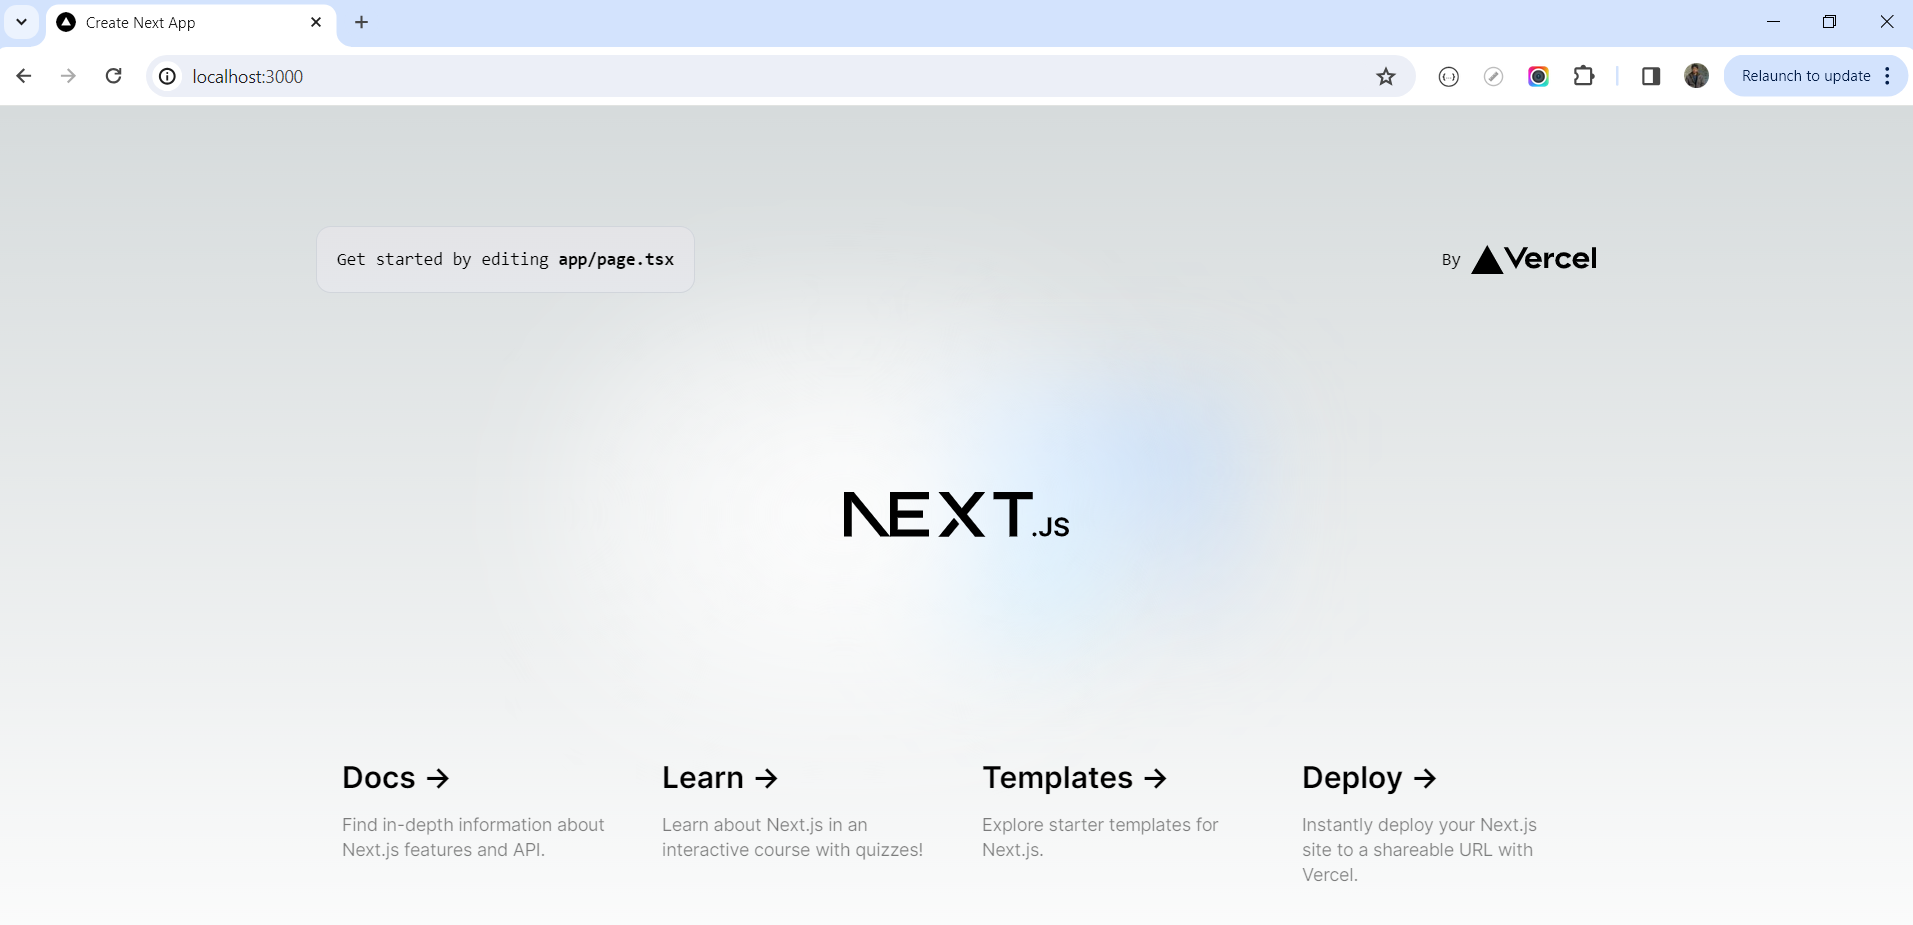
3. Open a modern browser and go to 'http://localhost:3000'. If you see the specified screen, congratulations! Your Next.js and Tailwind CSS setup is complete.
If you encounter any errors during installation, please install the latest Node.js version. If the issue persists, feel free to post your question in the Q&A section, and someone from our channel community will be happy to assist you.
Post CSS Plugin
When you integrate Tailwind with Next.js, the PostCSS plugin, along with its configuration file, is automatically installed.
PostCSS is a crucial tool in contemporary web development, serving as a post-processor for CSS. Differing from pre-processors like Sass or Less, which enhance CSS with new features before it's converted to standard CSS, PostCSS modifies your CSS after it has been written. This is achieved through a variety of plugins, each tailored to execute specific tasks or apply transformations to your CSS files.
Some of the most common applications of PostCSS include Autoprefixing, CSS Minification, handling Custom Properties and Variables, and Linting and Code Style enforcement. For more detailed information on this plugin, you can visit its official website: PostCSS.
You will find the 'postcss.config.js' file in your project's folder structure.
Code Snippet
module.exports = { plugins: { tailwindcss: {}, autoprefixer: {}, },}Browser Support
Tailwind CSS v3.0 is primarily designed for and rigorously tested on the latest stable versions of Chrome, Firefox, Edge, and Safari. It's important to note that it does not support Internet Explorer, including IE 11.
If you're uncertain about compatibility or support for specific CSS features, the 'Can I Use' database is an excellent reference tool.
For many CSS properties, vendor prefixes are essential for proper browser interpretation. We recommend using Autoprefixer, a PostCSS plugin that automatically adds the necessary vendor prefixes, tailored to the browsers you aim to support.
When installing Tailwind with Next.js, Autoprefixer is included and configured automatically within the PostCSS configuration file.
In this lesson, we will explore the role of typography in web design and how Tailwind CSS simplifies typography functions. We will also delve into various topics covered in this module, such as fonts, text-transforms, colors, styles, and more.
All Modules