✅ Now Live: Advanced Order Store for All Business Types – Rentals, Services, Subscriptions & More!✅ Now Live: Advanced Order Store for All Business Types – Rentals, Services, Subscriptions & More!✅ Now Live: Advanced Order Store for All Business Types – Rentals, Services, Subscriptions & More!✅ Now Live: Advanced Order Store for All Business Types – Rentals, Services, Subscriptions & More!✅ Now Live: Advanced Order Store for All Business Types – Rentals, Services, Subscriptions & More!✅ Now Live: Advanced Order Store for All Business Types – Rentals, Services, Subscriptions & More!✅ Now Live: Advanced Order Store for All Business Types – Rentals, Services, Subscriptions & More!✅ Now Live: Advanced Order Store for All Business Types – Rentals, Services, Subscriptions & More!✅ Now Live: Advanced Order Store for All Business Types – Rentals, Services, Subscriptions & More!✅ Now Live: Advanced Order Store for All Business Types – Rentals, Services, Subscriptions & More!
Customizing Font Family
In this upcoming lesson, we will delve into the art of customizing font families using the versatile Tailwind CSS framework. We'll cover the step-by-step process to effortlessly tailor the font choices to suit your design preferences and project requirements, ensuring that your web applications not only function flawlessly but also boast aesthetically captivating and user-friendly typography.
To customize the font-family using Tailwind, we first need to understand how this is done using standard CSS classes. Then, we will take it further using Tailwind CSS.
Let's begin by visiting the Google Fonts website and selecting a suitable font for our headings
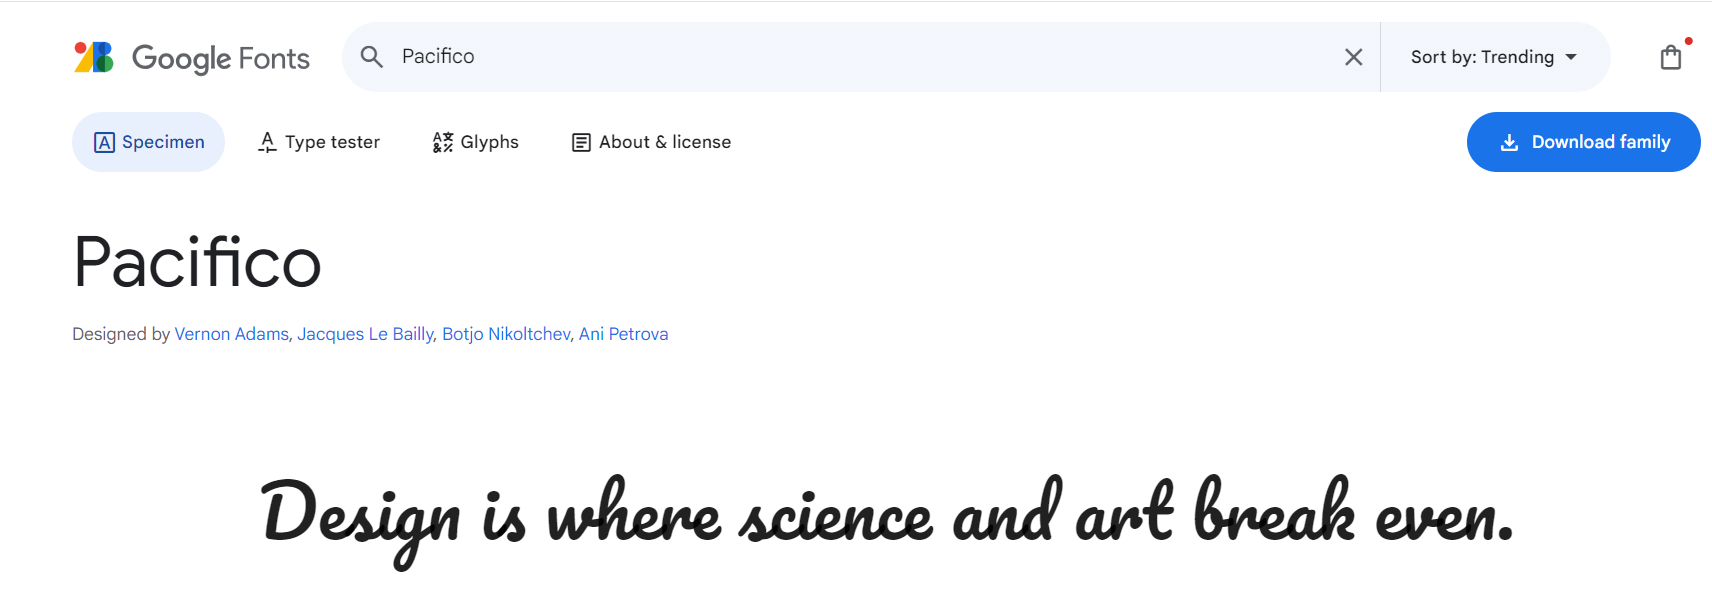
- Step 1: Visit Google FontsGo to the Google Fonts website (https://fonts.google.com/).
- Step 2: Search for PacificoIn the search bar, type "Pacifico" to find the font. When you see it in the search results, click on it.

- Step 3: Download the font filesClick the download button to download the font files.
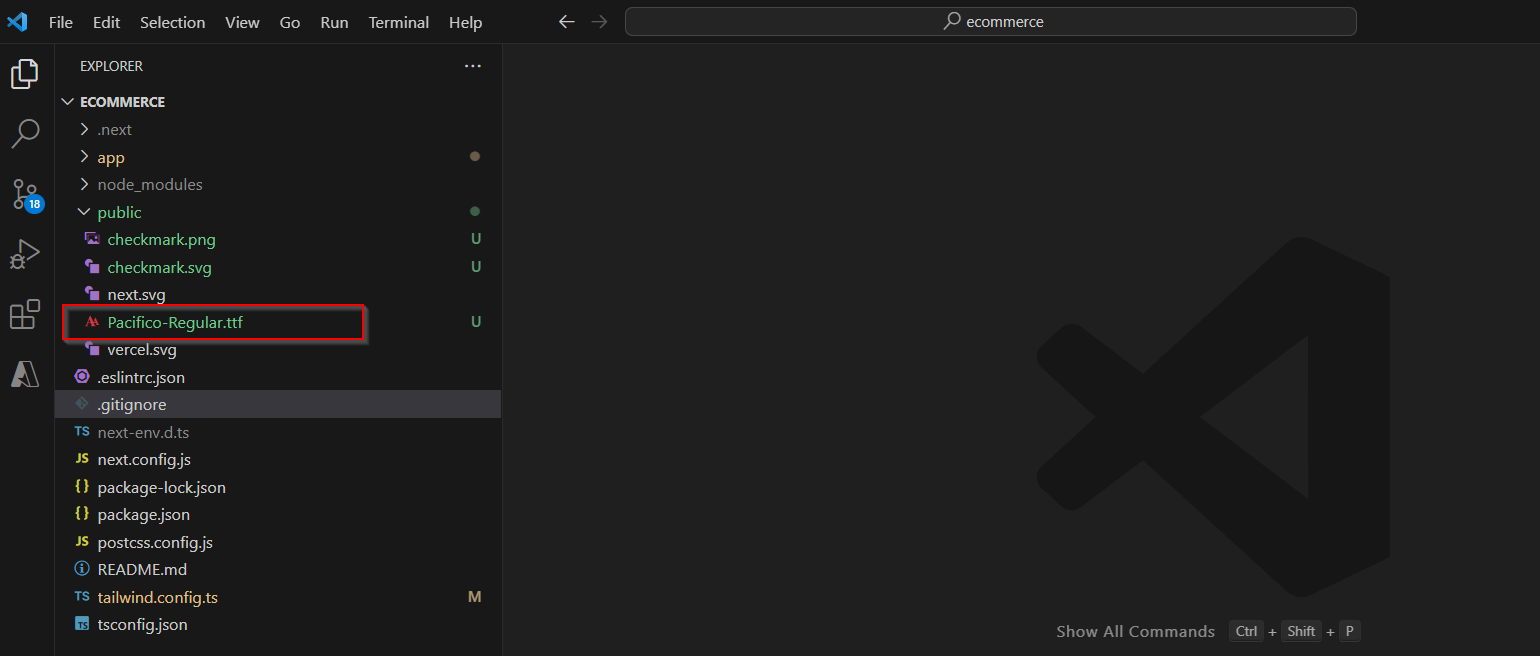
- Step 4: Copy the font files Unzip the downloaded folder to find a file named Pacifico-Regular.ttf. Copy this file to your project's "public" folder.

- Step 5: Update the global.css file Now, update the global.css file to import the downloaded font files and include the necessary CSS class to change the font. To import any font, use the @font-face CSS attribute. You need to specify two things here:The name of the font family - you can choose any name, but it's a good practice to keep it the same as the font's name for easy reference.Create a class named 'heading' and set the font-family to the name you specified earlier, which is 'Pacifico.'
Code Snippet
@tailwind base;@tailwind components;@tailwind utilities;@font-face { font-family: 'Pacifico'; src: url('/Pacifico-Regular.ttf') format('truetype') /* You can include additional font properties here */ }.heading{ /* Use the same name as mentioned in the font-family above */ font-family: 'Pacifico'; }Please note that the first instruction is to download the font files and assign them a name. The second instruction tells the browser to use the font you downloaded and named as 'Pacifico.'
- Step 6: Open the Page.tsx file and apply the class name we just created. You will notice that the headings are now displayed in the Pacifico font.
Code Snippet
<main className="m-10 p-10 rounded-xl"> <div className="my-4"> <div className="mb-2"></div> <div className="text-3xl heading">Whereas recognition of the inherent dignity</div> <p className="mt-4"> Design and creativity are the driving forces behind innovation and aesthetic expression. They are intertwined concepts that empower individuals and industries to envision and craft solutions that transcend the ordinary. </p> </div> </main>
By following these steps, you can successfully customize and apply the Pacifico font to your Next.js project.
It is recommended to include custom classes, if any, in your project in the Components or Utilities layer of Tailwind CSS as mentioned in following sections.
Adding Styles to Tailwind Base Layer
Above, we explored the method of using a specific font in our project. We created a new class named 'heading' for this purpose. However, if we want the new font to be automatically applied whenever we use heading tags (h1, h2) without the need to specify the 'heading' class, we can achieve this by customizing it in the global.css file.
Here are the steps:
- Step 1: Open the global.css file in your project.
- Step 2: Add the following code to instruct Tailwind CSS to include the styles for h1 and h2 in the base layer. We've discussed the concept of the base layer in the preflight lesson. By specifying these classes in the base layer, Tailwind includes these styles as the base styles alongside other base styles.
Code Snippet
@tailwind base;@tailwind components;@tailwind utilities;@font-face { font-family: 'Pacifico'; src: url('/Pacifico-Regular.ttf') format('truetype') /* You can include additional font properties here */ }@layer base { h1 { font-family: 'Pacifico'; } h2 { font-family: 'Pacifico'; }}- Now, even if you don't use the 'heading' class in page.tsx file, you will still see the font used as 'Pacifico' for the headings."
Code Snippet
export default function Fonts() { return ( <main className="m-10 p-10 rounded-xl"> <div className="my-4"> <div className="mb-2"></div> <h1 className="text-3xl ">Whereas recognition of the inherent dignity</h1> <p className="mt-4"> Design and creativity are the driving forces behind innovation and aesthetic expression. They are intertwined concepts that empower individuals and industries to envision and craft solutions that transcend the ordinary. </p> </div> </main> )}
Adding Custom Classes to Tailwind Components and Utilities Layer
Now, we have explored two methods to customize fonts. The first method involves creating a custom CSS class, while the second method utilizes the base styles. In this section, we will revisit the first method, which is using a custom class name.
- If you intend to use styled headings only in specific components and want to reuse that style, it's better to create that class in the component layer of Tailwind CSS. In the base layer, we generally include styles applied throughout the HTML document. In contrast, the component layer specifies classes used across multiple components.
- Let's look at the following code, where we have created a class with the name 'card-heading' and added it to the component layer. You now have to use the class 'card-heading' in the page.tsx file to display the Pacifico font.
Code Snippet
@tailwind base;@tailwind components;@tailwind utilities;@font-face { font-family: 'Pacifico'; src: url('/Pacifico-Regular.ttf') format('truetype') /* You can include additional font properties here */ }@layer components { .card-heading { font-family: 'Pacifico'; }}Utilities Layer
You can also create a utility class if needed and add it to the utility layer as mentioned below. You now have to use the class 'styled-heading' in the page.tsx file to display the Pacifico font.
Code Snippet
@tailwind base;@tailwind components;@tailwind utilities;@font-face { font-family: 'Pacifico'; src: url('/Pacifico-Regular.ttf') format('truetype') /* You can include additional font properties here */ }@layer utilities { .styled-heading { font-family: 'Pacifico'; }}Note that it can sometimes be confusing to determine whether to add a class in the component or utility layer.
Initially, you might perceive them as the same since there is no immediate difference in the output. It's more about how you structure your codebase and reuse styles.
As you gain experience, you will become more familiar with this concept.
As a general guideline, remember the following:
- The base layer is reserved for items like reset rules or default styles applied to plain HTML elements.
- The components layer is designed for class-based styles that you may want to override with utilities. These classes are typically defined within your components, such as 'card-heading.'
- The utilities layer is meant for small, single-purpose classes that should always take precedence over other styles.
Explore Tailwind CSS's extensive color palette, featuring a broad array of predefined options for text and background elements. Learn to harness these colors for visually striking and cohesive web designs.
All Modules